


- 26 February 2021
- 9 mins read
Giving yourself a good facial at home can be a wonderful way to de-stress and to show yourself some love and compassion. Have you ever thought about bringing the salon facial experience to your home? Beyond relaxing your senses, a facial at home will help smoothen your skin and enhance your complexion.
Your at-home facial doesn’t need to be complex or involve too many tools or devices. Just follow these 6 steps recommended by our Ayurvedic beauty experts.
Step 1. Create a Relaxing Atmosphere
Even if you can’t go to a salon or a spa, you can re-create the best elements of the experience at home. A facial isn’t just about taking care of your face. When you take some time to unwind and relax completely, it brings out a different glow.
Here are some suggestions that you can take inspiration from while creating the environment for your facial.
- Start by drinking your favorite herbal or detox tea.
- You can add Epsom salt in your bath or simply soak your feet in warm water prior to the facial.
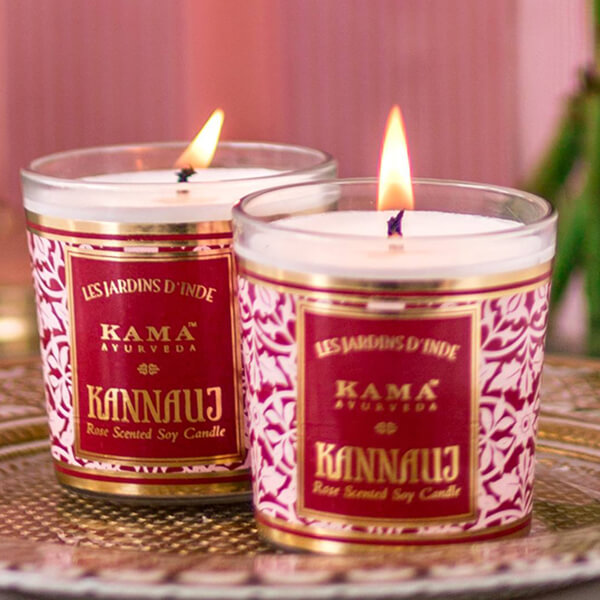
- Set up some scented candles or use a diffuser with your favorite essential oil.
- Create a relaxing playlist beforehand and let it play as ambient background music.
We are surrounded by so much noise of all sorts, so it is important to create an ambiance for oneself. When you’ve created the right environment for yourself you can move on to the next step.
Step 2. Cleanse Your Skin Thoroughly
Before you set out to do anything on your face, you must ensure that it’s completely clean and free from all dirt and impurities. If there’s any makeup or any residue left on the skin, it will result in a less effective facial.
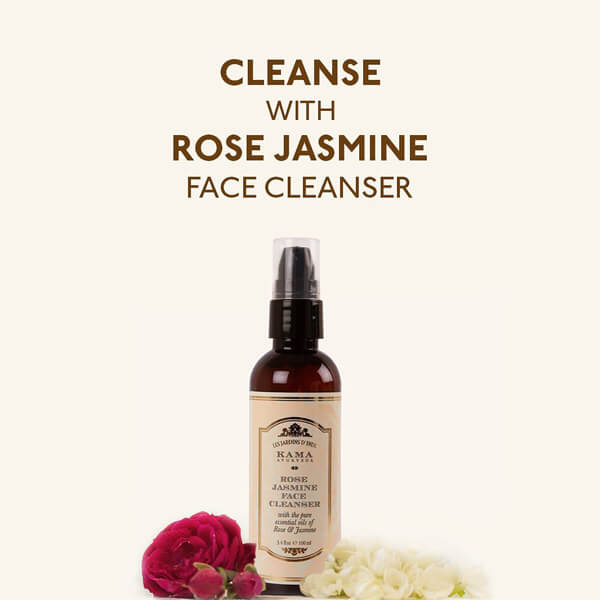
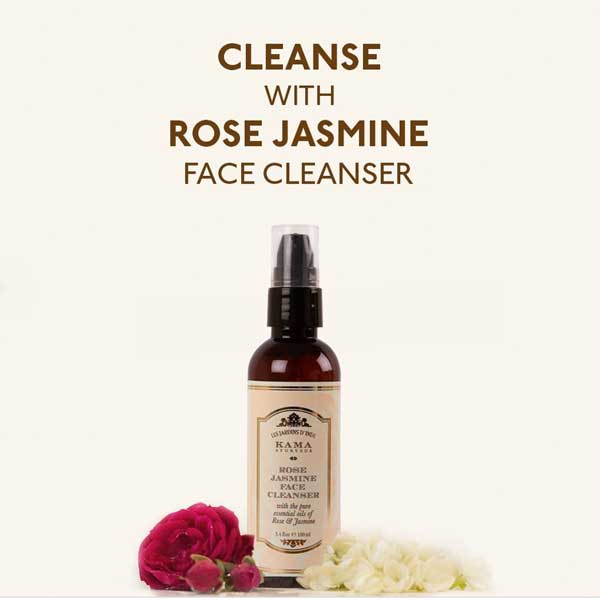
We recommend that you use natural cleansers as they are gentle on the skin and do not dry out the skin excessively.
Some people prefer double cleansing - in which the skin is first treated to oil and then to a cleanser. Such a process leads to a more thorough cleansing. For oil cleansing, Coconut oil, Cleansing Milk, Olive Oil, Micellar Water, or Natural Make-Up Remover can be used.
The second step is cleansing with water-based cleansers. You can use them directly as well (without oil cleansing). Here are our top recommendations for natural cleansers.
| Skin Type | Recommended Cleanser by Kama Ayurveda | What it does | Key Ingredients |
| Oily and Acne-Prone | Anti-Acne Cleansing Foam | It dries out active acne, unclogs and tightens skin pores, and reduces the frequency of breakouts. | Neem, Tulsi and Tea Tree Oil |
| Dry and Sensitive Skin | Sensitive Skin Cleansing Foam | Calms distressed skin, removes impurities and excess oils without stripping away skin’s essential moisture. | Sandalwood, Aloe Vera, and Calendula |
| Any Skin Type | Rose Jasmine Face Cleanser | A gentle foaming cleanser with a rich blend of Ayurvedic ingredients to effectively cleanse and lift away makeup and impurities. | Aloe Vera, Jojoba Oil, Essential Oils of Rose and Jasmine |
Step 3. Steam Your Skin
The next step of your facial is to steam your face. Steaming your face will open up your pores and soften the top layer of your skin to prime it for exfoliation.
While steaming your face at home, make sure that you do not go overboard with it as it will result in dryness. If you don’t have a steamer at home, there are two alternatives to choose from. You can either lower your face near-boiling hot water and cover your head with a towel to trap the steam.
Alternatively, you can soak a towel in hot water and place it on your face for some time. Just make sure that the water isn’t too hot as it may burn your skin.
You can make your facial steaming experience even better by adding certain elements to your water. Some people like to put slices of orange in it. You can even choose to put in relaxing herbs like Chamomile or Rosemary. The essential oil of your choice will also work equally well.
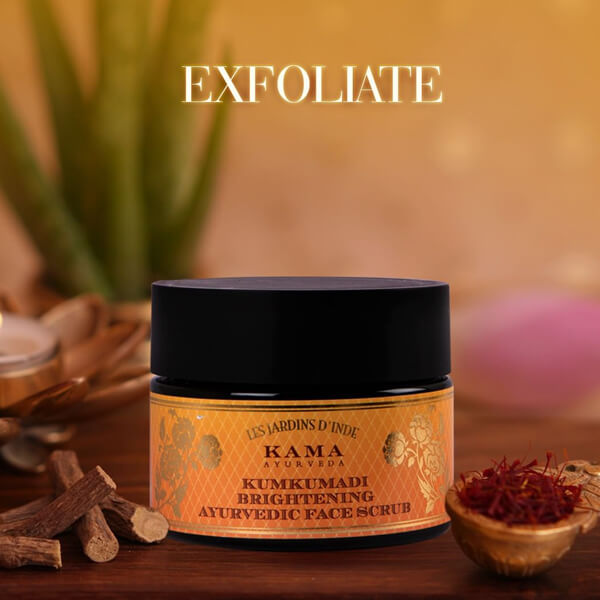
Step 4. Exfoliate for a Smoother Skin
After steaming, it’s time to use a gentle scrub to slough off the top layer of skin cells and excess oils. Exfoliation will instantly brighten your face and reveal the younger, healthier layers of your skin.
However, it’s important that you choose homemade or natural scrubs and not the harsh chemical scrubs. If the exfoliating beads are harsh, they cause micro-tears on the skin which can result in irritation or breakouts. Chemical exfoliation can also damage the skin’s natural moisture barrier.
Our top recommendations for natural face scrub for gentle exfoliation is Kumkumadi Brightening Ayurvedic Face Scrub for women and Himalayan Cleansing Deep Cleansing Face Scrub for Men.
Unlike the chemical scrubs that have plastic microbeads, Kama Ayurveda’s herbal face scrubs are made with natural substances that give an exfoliating effect to the skin.
Read - How To Exfoliate Your Skin The Right Way?
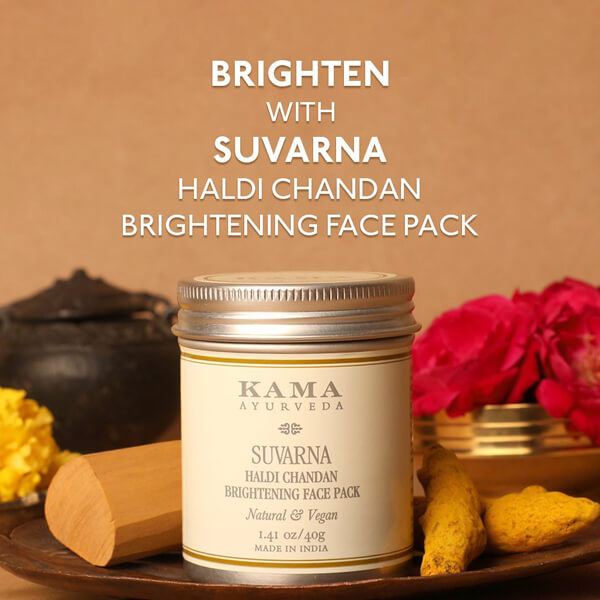
5. Apply A Mask
After the above-mentioned step, the skin is clean and prepped to absorb nutrients. This is the perfect time to apply a suitable face mask for glowing skin.
We recommend using natural face masks. For better absorption of nutrients, you can massage the mask into your skin for a few minutes before leaving it on for about 15 to 20 mins.
Here are our top recommendations for natural face masks.
| Skin Type | Recommended Mask by Kama Ayurveda | What it does | Key Ingredients |
| All Skin Types | Suvarna Haldi Chandan Face Mask | It is a complexion-enhancing Ayurvedic Face Pack, for youthful vibrancies, smoothness, and luminosity. | Turmeric, Sandalwood, Orange, Multani Mitti |
| Acne-Prone Skin | Nimrah Anti Acne Face Pack | It is an anti-acne treatment that heals pimples and blackheads, reduces scars, improves skin tone and repairs inflammation. | Ashwagandha, Coriander, Sandalwood, Vetiver, Lodhra |
| Sensitive Skin | Lavanya Natural Plant Mask | It is a detoxifying and deep cleansing face mask that leaves the skin smooth, refreshed, and refined. | Mulaithi, Lodhra, Sweet Flag |
Please note that these masks are in herbal powder form. They need to be mixed with Pure Rose Water (for normal skin) or Pure Mogra Water or Yogurt/Milk/Buttermilk (for dry skin) to form a paste prior to the application.
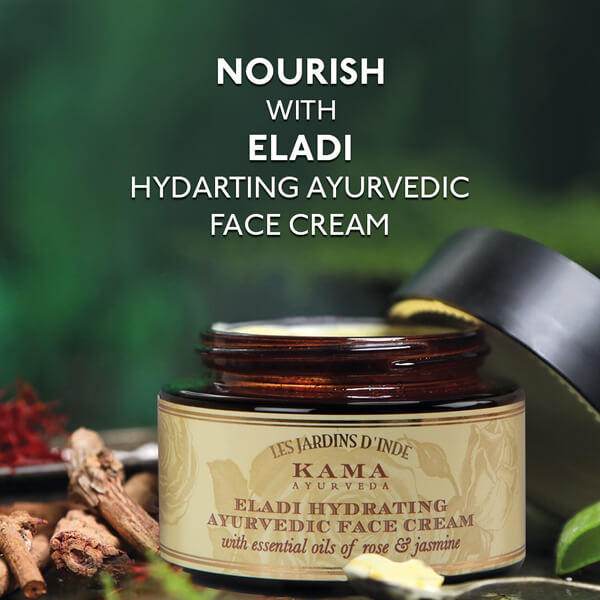
Step 6 - Moisturize The Skin
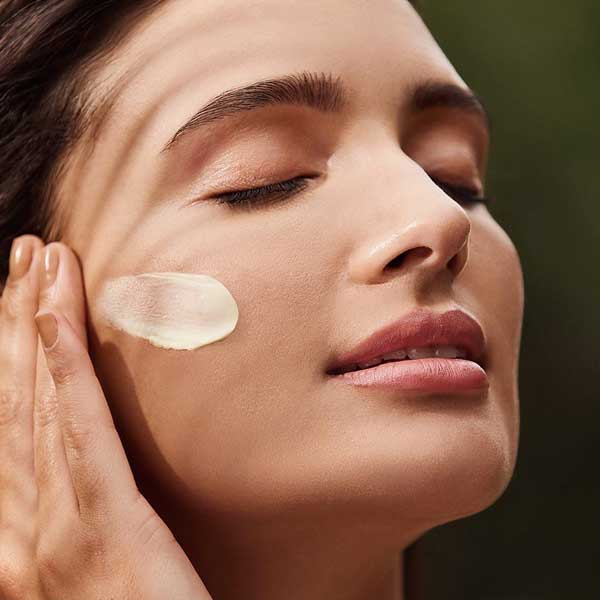
With this, we arrive at the final and one of the most crucial steps of a facial at home - a good massage with a suitable moisturizer. The facial massage helps in boosting blood circulation and promotes lymphatic drainage.
Not only this, deeply nourishing your skin with a rich moisturizer is important for locking in the nutrients and the moisture.
After all the steps mentioned above, your freshly revealed and nourished skin will need hydration for lasting radiance. Moisturizing will hydrate your skin and lock moisture in so that your skin is less prone to damage.
You can even use natural oils like Almond Oil, Coconut Oil, and Jojoba oil for facial massage.
Here are our top recommendations.
| Skin Type | Moisturizer Recommended by Kama Ayurveda | What it does | Key Ingredients |
| All Skin Types | Eladi Hydrating Ayurvedic Face Cream | It is a nourishing Ayurvedic cream that moisturizes, softens, and protects. Results in soft, smooth and clear skin. | Green Cardamom, Sesame seeds, Coconut Oil, Costus |
| Dry Skin | Extra Virgin Coconut Oil | It helps keep the dry skin soft and smooth, prevents premature ageing and wrinkling of the skin. | Organic Coconut Oil |
It is important to use nourishing, rich ingredients to massage your skin. To give yourself a good facial massage, begin at the chin and gently stroke outwards. You can use your fingers, a face roller or even a gua sha to further enhance your experience. Do not neglect the areas behind the ear lobes, around your nostrils, and the center of your forehead.
Read - How To Give Yourself A Face Massage – 10 Simple Steps
With this last and final step of a facial at home, you’ll now have the soft, supple and naturally radiant skin. You might be tempted to use extractions to get rid of blackheads and whiteheads. However, we strongly recommend that you only get it done by professionals to avoid injury or scarring.
Pampering yourself with a relaxing facial at home isn’t hard. Follow the steps mentioned in this article to achieve naturally glowing, flawless skin. A little self-care is all it takes to release the stress from your skin and your body.
After Facial Care
Proper after facial care is crucial for maintaining the benefits of your treatment and ensuring the health and beauty of your skin. Here are some key steps to follow:
Hydration:
Post-facial, your skin can be a bit more sensitive than usual. It's essential to keep it hydrated. Use a gentle, non-comedogenic moisturizer to nourish and soothe your skin. Avoid heavy or oil-based products that might clog your pores.
Sun Protection:
Your skin is more susceptible to sun damage immediately after a facial. Apply a broad-spectrum sunscreen with at least SPF 30 to protect against UV rays. This step is vital, regardless of the weather, to prevent premature aging and hyperpigmentation.
Gentle Cleansing:
For the next few days, use a mild, fragrance-free cleanser. Avoid exfoliating cleansers or tools that could irritate your freshly treated skin.
Avoid Makeup:
If possible, give your skin a break from makeup for at least 24 hours post-facial. This will allow your skin to breathe and maximize the benefits of the facial.
Skip Harsh Treatments:
Avoid using harsh products or treatments like retinoids, acid peels, or exfoliants for a few days. Your skin needs time to recover and stabilize after a facial.
Stay Hydrated and Eat Healthy:
Drinking plenty of water and eating a balanced diet rich in antioxidants will support your skin's health from the inside out.
Touching Your Face:
Try to avoid touching your face unnecessarily to prevent the transfer of bacteria and oils from your hands.
Monitor Your Skin:
Pay attention to how your skin responds in the days following your facial. If you notice any adverse reactions, consult with your skincare professional.
Frequently Asked Questions (FAQs) for Facial at Home
Q1: How often should I do a facial at home?
A: The frequency of at-home facials depends on your skin type and concerns. Generally, a facial every 2-4 weeks is beneficial. However, if you have sensitive skin, you might want to space them out more.
Q2: What basic steps are involved in an at-home facial?
A: A basic at-home facial typically involves cleansing, exfoliating, steaming, applying a mask, and moisturizing. You can also include a gentle massage to boost circulation.
Q3: Can I do a facial at home if I have acne-prone skin?
A: Yes, but be gentle and choose products formulated for acne-prone skin. Avoid harsh scrubs and overly rich creams. It’s best to consult with a dermatologist if you have severe acne.
Q4: Are DIY facial masks as effective as store-bought ones?
A: DIY masks can be effective, especially for hydration and mild exfoliation. However, store-bought masks might offer more targeted treatments with active ingredients for specific concerns.
Q5: How can I steam my face at home?
A: Boil water and pour it into a bowl. Lean over the bowl with a towel over your head to trap the steam. Stay at a comfortable distance to avoid burns and steam for about 5-10 minutes.
Q6: Is it safe to extract pimples during an at-home facial?
A: It’s generally not recommended to perform extractions at home as it can lead to scarring and infection. Leave extractions to the professionals.
Q7: What should I do if my skin reacts negatively after an at-home facial?
A: If you experience a negative reaction, discontinue the use of any new products. Apply a soothing, hypoallergenic moisturizer and avoid makeup. If the reaction is severe, consult a dermatologist.
Q8: How can I ensure the products I use are suitable for my skin type?
A: Research products and look for those specifically labeled for your skin type (e.g., oily, dry, sensitive, etc.). Patch test new products before applying them to your face.
Q9: Can men also do facials at home?
A: Absolutely! Men can benefit greatly from at-home facials. They should follow the same basic steps, keeping in mind any specific skin concerns like shaving-related issues.
Q10: How do I maintain the results of my at-home facial?
A: Maintain results by following a consistent skincare routine, staying hydrated, eating a balanced diet, and protecting your skin from the sun. Regular facials contribute to prolonged benefits.
Shreya Dalela is a certified Yoga instructor and a professional dancer trained at The Danceworx. She’s passionate about Ayurveda and holistic living with over 6 years of experience in doing extensive research and content creation in the domain.

An Ayurvedic Approach to Healthier Hair
The holistic principles of Ayurveda, including lifestyle practices, traditional remedies, and innovative tools, have long been valued for their role […]

Kansa Brush 101: Ayurveda’s Luxury Tool for Scalp Health and Hair Wellness
Luxury haircare in India is undergoing a quiet revolution, one that draws inspiration from age-old traditions to create tools for […]

Bhringaraj: The Ayurvedic Herb Transforming Haircare in India
Some herbs quietly exist in the background of Ayurveda, while others, like Bhringaraj (False Daisy), have earned their crown. Revered […]

Embracing the Ancient Indian Art of Hair Oiling with Bringaras: A Ritual for Healthy, Lustrous Hair
Inspired by 2,000 years of Ayurveda, hair oiling has been at the heart of Indian beauty rituals. For generations, women […]

Home Remedies For Dry Skin – 10 Ways To Soothe Dryness
Understanding the root cause of skin dryness can often be challenging. External factors like changes in weather, arid climates while […]

Which Is The Best Anti-Aging Cream In India?
Aging gracefully is something we all aspire to have. While there’s no way to arrest ageing, you can reduce the […]

Best Night Skin Care Routine – 5-Step Guide As Per The Experts
From your grandmothers to Ayurvedic practitioners, […]

Kumkumadi Thailam Review – Is The Ayurvedic Face Oil Effective?
Recently, Kumkumadi Tailam has gained popularity as a miracle Ayurved[…]


Benefits of Facial Toners and How to Use Them Correctly
Many believe facial toners are a recent trend or marketing add-on. In reality, they have actually been a part of […]

The Rose & Jasmine Ritual Collection: A Modern Ayurvedic Body & Hair Care Experience
Not all care is about repair. Sometimes, care is simply an invitation to pause, to stay a little longer, to […]

Rose & Jasmine Gentle Daily Shampoo: A Sulphate-Free Ayurvedic Cleanser for Soft, Balanced Hair
We have heard that washing your hair two to three times a week helps maintain a healthy scalp and hair. […]

Mother’s Day Gifts for New Moms: What She Really Needs in 2026
A woman’s first Mother’s Day after giving birth has little to do with celebration in the traditional sense. It arrives […]

How to Refine Open Pores and Clear Blemishes Naturally
Open pores and recurring blemishes often indicate an imbalance in the skin, caused by an excess of sebum, environmental exposure, […]

Can Face Oil Help Oily Skin and Acne Marks Without Feeling Greasy?
There are days when your skin just seems unsettled. Excess oil throughout the day, unexpected breakouts, and healing marks that […]

Finally, a Moisturizer That Controls Oil & Visibly Minimizes Open Pores
Oily skin is often misunderstood. What appears as surface shine is, in most cases, a sign of imbalance. When the […]

The Ultimate 10-Minute Pre-Holi Routine to Protect Your Skin & Hair Naturally
Holi is a celebration of color, laughter, and unforgettable memories. But while your spirit glows, your skin and hair often […]
: Luxury Skincare Sets for Someone You Love")
